It is important to sit on a properly inflated ROHO cushion as under-inflation and over-inflation of the cushion sections reduce or eliminate the cushion’s benefits. The cushion is most effective when there is 1/2 inch (1.5 cm) to 1 inch (2.5 cm) of air between the user’s bottom and the seating surface. Did you know, in five easy steps, you can set up and check your ROHO cushion inflation level?
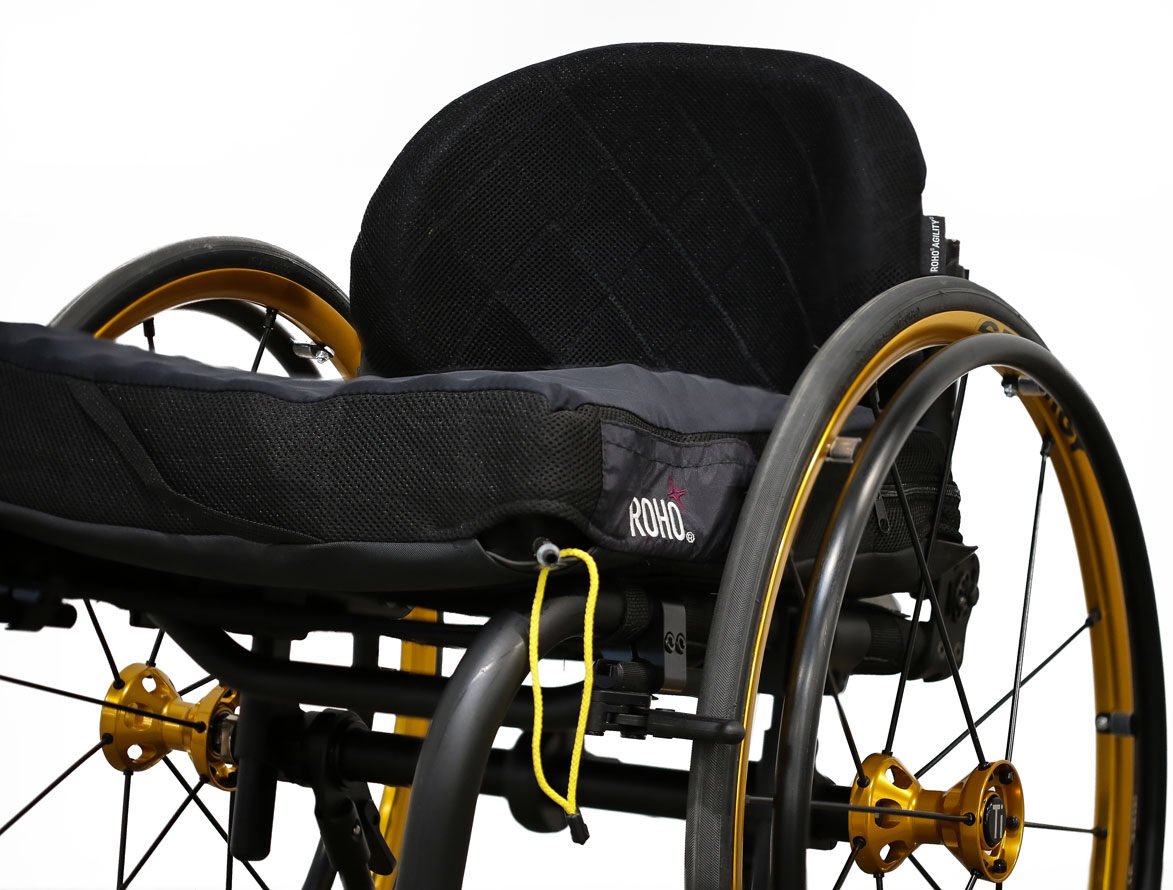
To get started, place the ROHO cushion on the chair making sure it is centered with the air cells up and the inflation valve in the front left corner (when the individual is seated on it).

Step 1
Turn the valve counterclockwise to open. Slide the inflation pump’s rubber nozzle over the valve and inflate the cushion until it begins to slightly arch upward.
Step 2
Pinch the pump’s nozzle and turn the valve clockwise to close it. Remove the pump. If your ROHO cushion has more than one valve, repeat steps 1 and 2 for the remaining valves.
Step 3
Have the user sit in the chair, making sure the cushion is centered underneath. The individual should be seated in their normal sitting position.
Step 4
Slide your hand between the cushion’s surface and the individual’s pelvis. Lift their leg slightly and feel for their lowest bony prominence. Then lower their leg to a sitting position.
Step 5
Turn the valve counterclockwise to let out air while keeping your hand under the person’s lowest bony prominence. Release air until you can slightly move your fingertips. Turn the valve clockwise to close.
For ROHO Dual Compartment Cushions: To maximize the positioning benefits for individuals with a pelvic obliquity, the side with the lowest bony prominence should be adjusted first. Dual compartments may be used for side-to-side or front-to-back positioning. For those who use front-to-back positioning, adjust the rear section first. Once both adjustments are made, recheck each compartment to ensure proper adjustment.
Regularly check the inflation level of your cushion as air loss could occur over time due to normal use. Also, inspect your ROHO cushion for any signs of damage and if you notice any issues, promptly repair or replace your cushion to maintain its effectiveness and prevent further damage. Cleaning your cushion is also important! Check out our blog on how to clean and disinfect a ROHO cushion and cover for more details.
Need a quick guide to these easy steps? Download it here.

 Nicole LaBerge, PT, ATP
Commercial Product Manager - Permobil Americas
Nicole B. LaBerge, PT, ATP is a Physical Therapist with 17 years of experience in a variety of clinical settings. She currently works for Permobil as a Portfolio Marketing Manager of Seating and Positioning products. Her past clinical practice has included seating and mobility for adult and pediatric populations, with a focus in neurological rehabilitation, power standing and wound care. Nicole has presented at the State and International Levels, has multiple publications in peer reviewed journals and enjoys sharing her passion for patient advocacy, efficiency, and clinical outcomes. She currently serves as an Executive Board Member for the Clinician Task Force.