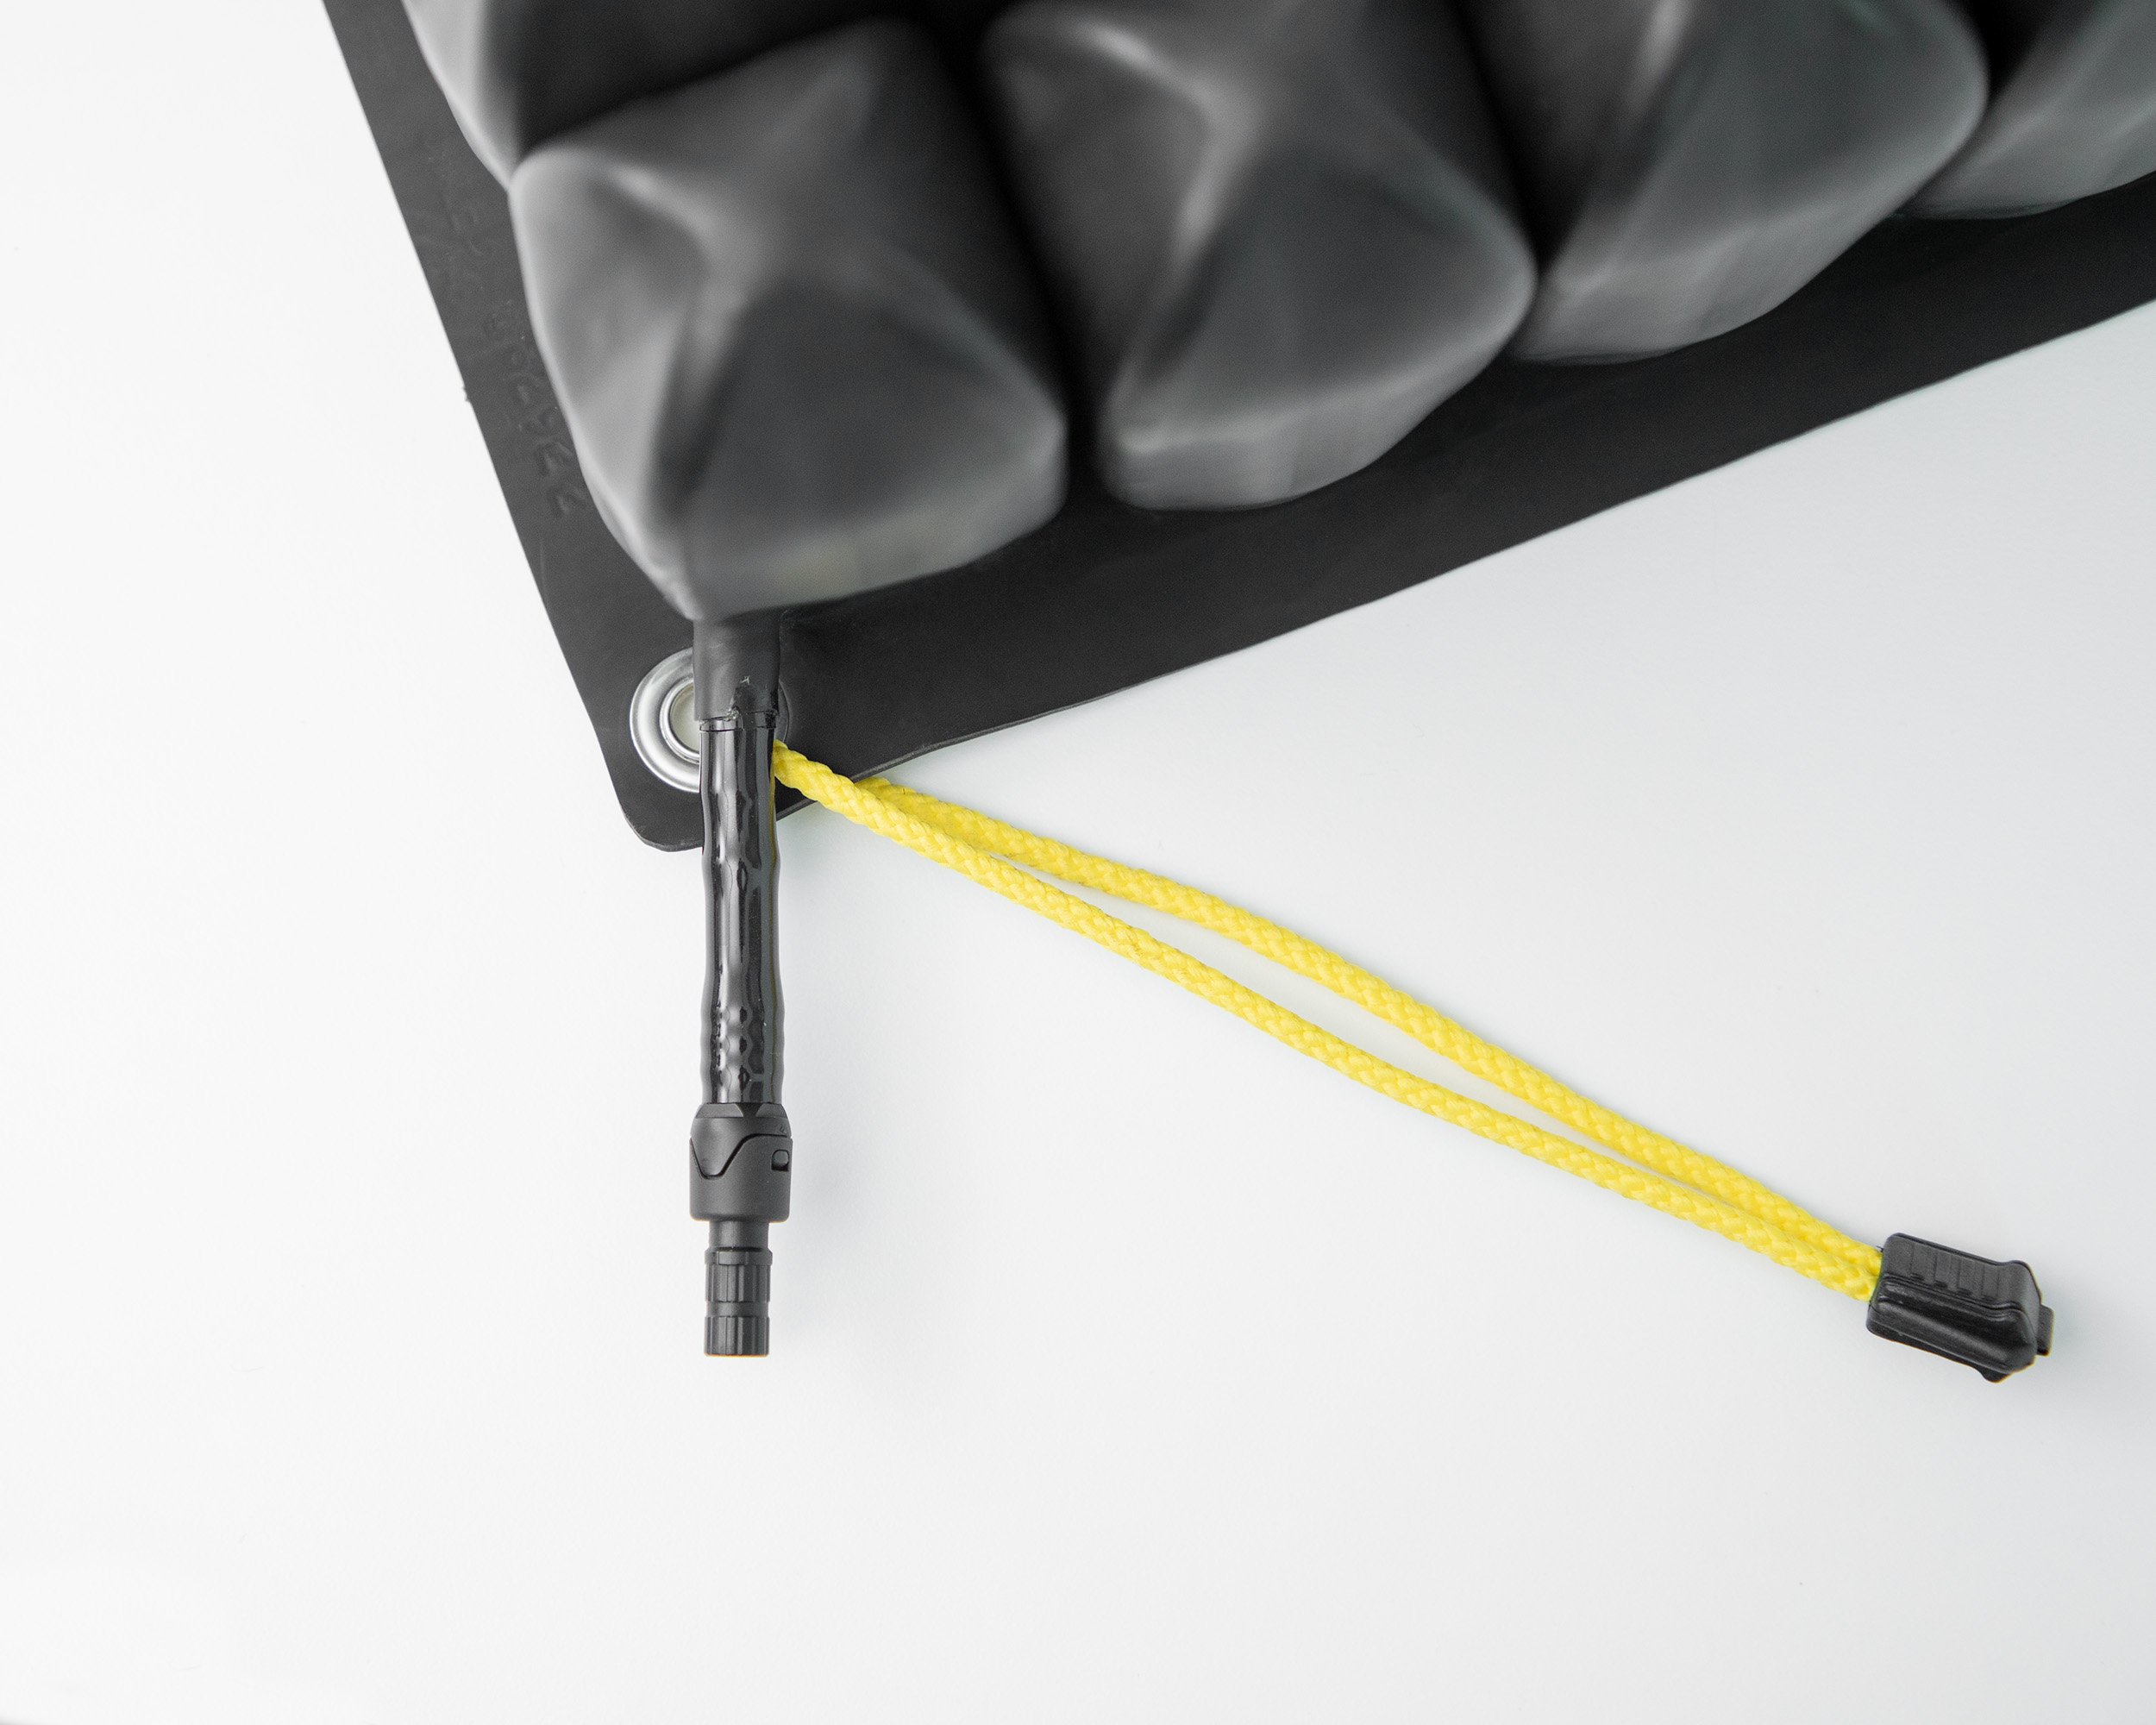
If you’ve noticed that your ROHO cushion isn’t holding air like it used to, it may have a small hole or leak. Luckily, repairing it is a straightforward process that you can do at home with the right tools. By fixing the leak yourself, you can restore your cushion’s performance and extend its lifespan, ensuring you remain comfortable and supported!
Here’s what you’ll need for the repair:
- ROHO repair kit (includes square self-adhesive patches and isopropyl alcohol pads)
- A cloth or towel
- A bathtub or basin/container (that your cushion will fit into) and water
- A permanent marker
- A spoon or other hard/curved surface
Follow along as we walk you through the steps to quickly and effectively repair your ROHO cushion, so you can get back to experiencing the support you rely on!
Step 1: Locate the leak
Note: For QUADTRO SELECT®, CONTOUR SELECT® and Hybrid Select Cushions: Open the ISOFLO® Memory Control.
Inflate the product until the air cells are filled and firm, then turn all inflation valves clockwise to close. Immerse the product in water. To locate the leak, look for rising air bubbles. Remove the product from the water once you’ve located the leak.
Step 2: Prepare the area of the leak
Use a cloth to dry the area of the leak. Mark the area around the leak with a permanent marker or ink pen. Note: The ink will not weaken the patch.
Use an isopropyl alcohol pad to wipe the area of the leak. Use a clean, dry cloth to remove any excess alcohol.
Important: Remove all water, oils, detergents, and soaps from the area around the leak. Air dry.
Turn all inflation valves counterclockwise to deflate the product. Remove enough air to easily apply the patch.
 Step 3: Apply the patch
Hold one edge of the patch between your thumb and forefinger. Starting at the opposite edge of the patch, use the other hand to pull up part of the paper backing. Note: Touching the sticky surface of the patch will reduce its adhesive qualities.
Center the patch above the leak and apply the exposed edge of the patch to the product. Remove the remaining paper backing as you press the patch to the area of the leak. Suggestion: Place the product on a surface that allows you to flatten the area of the leak when you apply the patch.
Step 4: Seal the patch
Starting at the center and working toward the edges, use a hard, curved object, such as the back of a spoon, and firmly press down on all areas of the patch. Remove all trapped air until the patch appears uniformly dark.
After the patch is sealed, wait at least five minutes before you inflate and use the product.

Commercial Product Manager - Permobil Americas
Nicole B. LaBerge, PT, ATP is a Physical Therapist with 18 years of experience in a variety of clinical settings. She currently works for Permobil as a Commercial Product Manager of Seating and Positioning products. Her past clinical practice has included seating and mobility for adult and pediatric populations, with a focus in neurological rehabilitation, power standing and wound care. Nicole has presented at the State and International Levels, has multiple publications in peer reviewed journals and enjoys sharing her passion for patient advocacy, efficiency, and clinical outcomes. She served as an Executive Board Member for the Clinician Task Force for 3 years and is currently an active member in the CTF.

